Lifestyle
How to Get More Space through Bump-Out Addition without paying the Cost of a Full Addition?
Countless homeowners in Santa Clara dream of expanding their living space, and it’s a vision that comes with a lot of advantages. Not only do you gain extra space, but your home value rises as well. A bump-out addition to your home can be a cost-effective option for creating a full-scale expansion. Besides, a bump-out addition is a challenging project despite its small size. It is best left in the hands of a contractor like Done Right Home Remodeling. It’s a highly rewarding endeavor for many homeowners, with maximum personal and financial benefits.
What is a Bump-Out Addition, and How Does It Work?
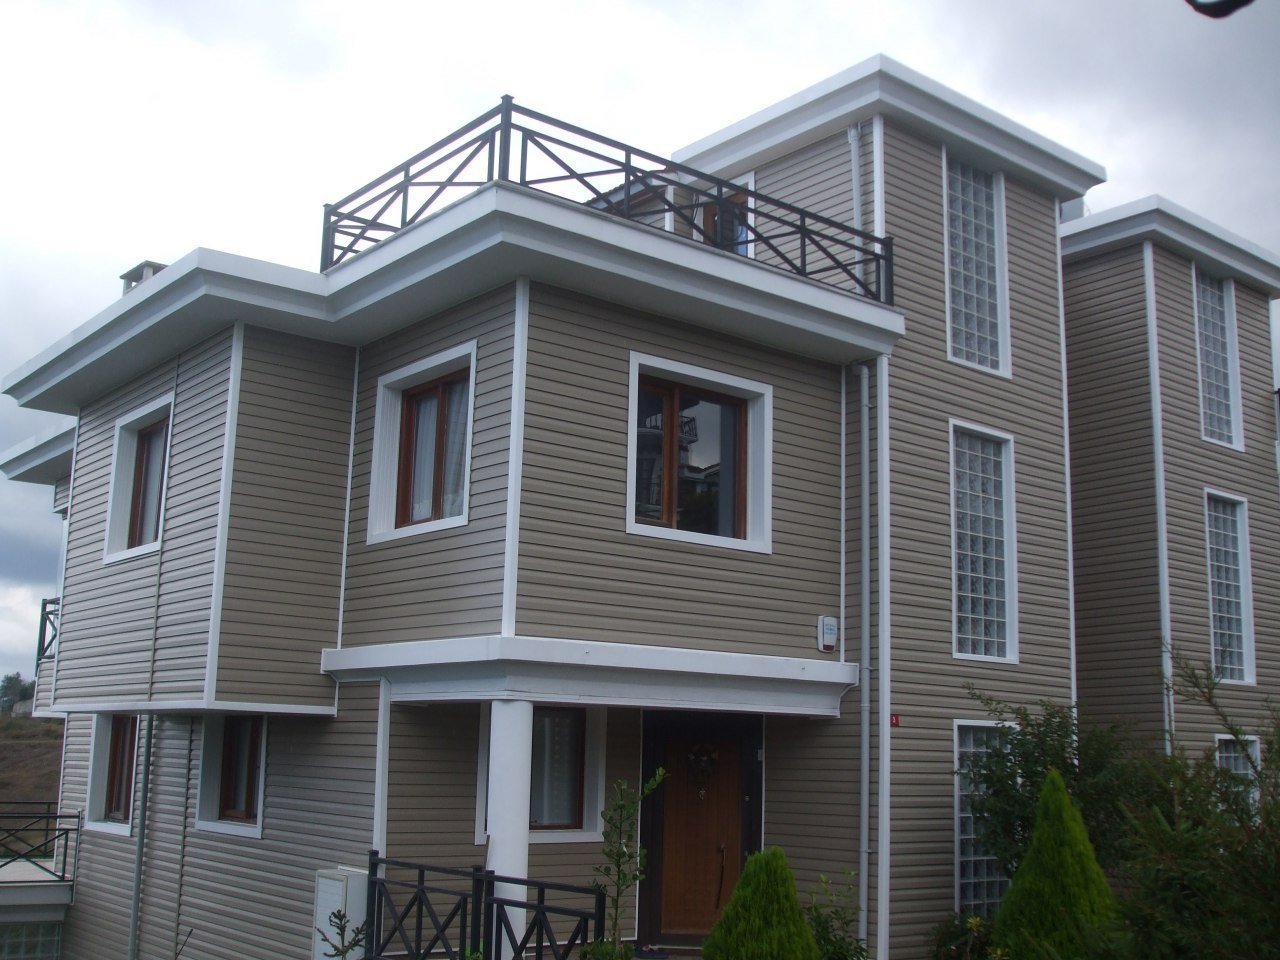
A bump-out is a small extension to a home that adds total square footage but isn’t as large as a full expansion with multiple rooms. A bump-out can be as tiny as two- or three-feet projection from the side of the premises or as big as a whole room. Bump-outs are commonly utilized in kitchens and bathrooms to accommodate essential items such as bathtubs, showers, counters, and cooking zones. Bump-outs are occasionally used to add features like window seats or walk-in closets.
In a bathroom, a conventional bump-out might add 12 to 15 square feet to the wall. The bathroom’s bathing facilities are then relocated to the bump-out, leaving the countertop, sink, and open floor space in the remaining portion.
When Should You Add a Bump-Out?
Adding a bump-out, similar to building an addition on your property, is an external remodeling project. Though a segment of the house will be open for the inhabitants, our professionals try their best to reduce the completion of the project to prevent inconvenience to the residents. If you add your bump-out during a busy construction season, such as the spring rolling over to the fall, you may find it challenging to outsource your projects to remodelers like us due to their busy schedule. Therefore, it is always a wise decision to plan well ahead to avoid any delay.
What are the Specific Instructions for Homeowners to Plan Their Bump-Out Projects?
- Explore the Bump-Out Area: To minimize additional structural problems, the bump-out extension should ideally be limited to only one room. Bump-outs on the ground level will be more affordable and effortless to construct than those on the upper levels. The foundations of ground-level bump-outs can either be on the ground or cantilevered. Upper-level bump-outs may require extra reinforcement from below or alternately cantilevered. However, the depth of the bump-out is limited to two or three feet by cantilevering.
- Create Strategies for Bump-Out Additions: You may create blueprints for the bump-out with the help of remodeling company Done Right Home Remodeling, a reputed real estate architect and contractor in the city of Santa Clara. Consider how your apartment will connect to the entrance of the bump-out.
Existing windows and doors close to the intended bump-out may have headers that homeowners can use to enter through the new area once it’s completed. However, the majority of homeowners want a big opening, which is generally the whole dimension of the bump-out. It requires adding a support beam that spans the full distance, including more vertical bracing on the sides, which are, in most cases, laminated lumber.
- Apply for Building Permits: Any construction that opens up the side of the home or expands onto the house requires a building permit. Both compulsory electrical and plumbing works may require additional permissions from the local authorities.
- Erect Temporary Support Wall: Construct a temporary stud wall near the external wall. When pieces of the current outer wall are removed, this wall will operate as a support for the walls, ceiling, and the top stories.
- Excavate the Foundation: Foundation and footers are required for bump-out extensions that stand firm on the ground. Soil is scooped out using a small excavator or by hand. Local building codes limit the depth, which is usually underneath the frost lines: sometimes between 36 and 42 inches. Poured concrete or concrete blocks will then be used to erect the foundation wall. The bricks are mortared into place after being piled. Poured concrete is required in the construction of wooden molds. The concrete is then poured into shapes using a mixer.
- Optional Cantilever Flooring: Upper-level bump-outs—and even certain modest ground-level bump-outs can be built from the side of the home through a cantilever. Cantilevers can only extend a few feet in most cases. One aspect that defines the depth of a cantilevered bump-out is the size of the joists.
- Build Subfloors or Walls: The specified height should be achieved by constructing stud walls with windows. Because of the breadth of the header, many bump-out additions have lower ceilings than the main establishment.
- Roof Building: Several bump-out expansions are modest enough so that a lean-to-style roof can be used. This roof is higher than the house’s entrance, and then it dips down in one direction to the exterior.
- Add Drywall, Siding and Insulation: The newly erected walls are insulated with spray foam or fiberglass after sheathing and siding are installed. The insulation is subsequently covered with drywall. The drywall is primed and painted when it has been completed.
- Final Touch: If it’s a bathroom bump-out addition, a floor covering including resilient flooring or tile is installed. For kitchens, a greater selection of flooring options is available, ranging from long-lasting materials like tile, laminate flooring, or premium hardwood flooring.
- Also know about the q family adventures.
Conclusion
A professional home remodeler is normally required to construct a bump-out addition. Even if the project is minor in comparison to full-scale extensions, it is still a structurally-reliant external building project that exposes a side of your home. If you insist, we can provide you with expert home advice, design recommendations, and budget planning so that you can start your long-awaited bump-out addition.


