Business
The Ultimate Guide to Tyre Puncture Repair
Dealing with a tyre puncture can be a frustrating experience for any driver. Whether you’re on a busy road or in a quiet area, knowing how to effectively manage a puncture can save you time, money, and stress. This guide will cover everything you need to know about tyre puncture repair, including how to identify a puncture, steps for repair, and prevention tips.
Understanding Tyre Punctures
Tyre punctures occur when a sharp object, such as a nail or glass shard, penetrates the tyre, allowing air to escape. Punctures can happen for various reasons, including:
- Road Debris: Nails, screws, or other sharp objects can easily become lodged in your tyres.
- Poor Road Conditions: Potholes and uneven surfaces can damage tyres and lead to punctures.
- Worn Tyres: Older tyres are more susceptible to punctures due to reduced tread depth.
Recognizing a puncture early can prevent further damage to your tyre and enhance your safety on the road.
Identifying a Puncture
Common signs of a punctured tyre include:
- Loss of Pressure: If your tyre appears flat or is losing air, it could be a sign of a puncture.
- Unusual Noises: Hissing sounds while driving may indicate air escaping from the tyre.
- Vibration: If you feel excessive vibration while driving, it might suggest a punctured or damaged tyre.
If you notice any of these signs, it’s crucial to address the issue promptly.
Steps for Tyre Puncture Repair
If you find yourself dealing with a tyre puncture, follow these steps for effective repair:
1. Safety First
- Pull Over: Find a safe location away from traffic to assess the situation.
- Turn on Hazard Lights: This alerts other drivers that you’re experiencing an issue.
2. Inspect the Tyre
- Visual Check: Look for any visible signs of damage or objects embedded in the tyre.
- Feel for Air Loss: Carefully touch the tyre to determine if it feels softer than usual.
3. Remove the Object
- Carefully Extract: If you find a nail or other sharp object, carefully remove it with pliers or a similar tool. Be prepared for air to escape rapidly.
4. Plug or Patch the Puncture
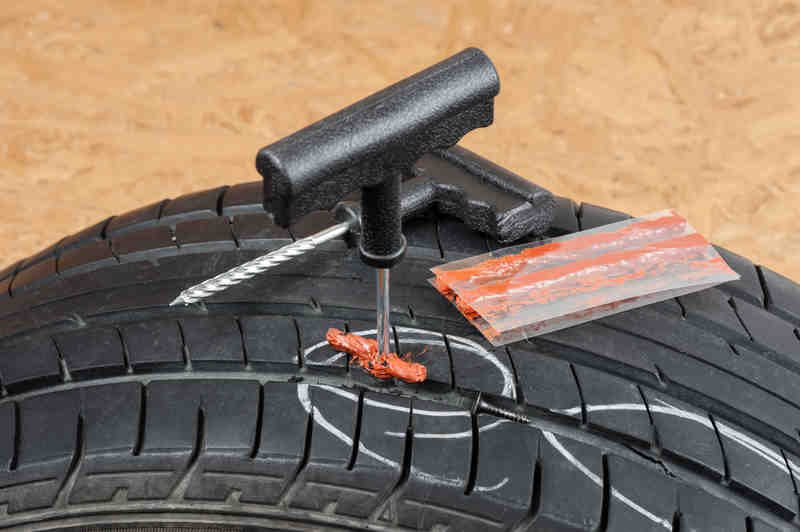
- Use a Tyre Repair Kit: Many drivers keep a repair kit in their vehicles. Follow the instructions included with the kit for plugging the puncture.
- Seek Professional Help: If you’re unsure about your ability to repair the tyre safely, it’s best to call a professional. They can patch the tyre from the inside, providing a more durable solution.
5. Inflate the Tyre
- Use a Portable Air Compressor: Once the puncture is repaired, inflate the tyre to the recommended pressure.
- Check for Leaks: After inflation, spray soapy water around the repaired area. If bubbles form, it may indicate an air leak.
6. Test Drive
- Take a Short Drive: After repairing the tyre, take a short drive to ensure that everything feels normal and that the repair holds.
Prevention Tips for Future Punctures
While it’s impossible to completely avoid punctures, you can reduce the likelihood of experiencing one with these tips:
- Regularly Check Tyre Pressure: Maintain the correct tyre pressure to prevent wear and tear.
- Inspect Tyres for Damage: Regularly check your tyres for signs of damage or embedded objects.
- Rotate and Balance Tyres: Keeping your tyres balanced and rotated can prolong their lifespan and improve performance.
- Avoid Poor Road Conditions: Whenever possible, drive on well-maintained roads and avoid potholes or debris.
Conclusion
Knowing how to handle a tyre puncture effectively is an essential skill for every driver. By understanding the signs of a puncture and following the repair steps outlined in this guide, you can confidently manage this common roadside emergency. Remember, prevention is key, so keep an eye on your tyres to reduce the risk of future punctures. Stay safe on the road!


